BeamFi App - Web Frontend Integration
To make testing BeamFi Protocol easier, we have developed a web frontend BeamFi App (opens in a new tab) to interact with the BeamFi Protocol. This section describes how to integrate the BeamFi App with your local BeamFi Protocol canisters.
Setup Development Environment
- Clone Git Repository: https://github.com/BeamFi/beamapp.git (opens in a new tab)
git clone https://github.com/BeamFi/beamapp.git- Install NodeJS 16.19 (opens in a new tab) or if you have Node Version Manager - NVM (opens in a new tab) installed:
nvm use-
Install VSCode (opens in a new tab)
-
Install Extensions: ESLint (opens in a new tab), Prettier (opens in a new tab)
Update local BeamFi canisters IDs
- switch to BeamFi Protocol Git repo folder in your local machine
- copy .dfx/local/canisters_id.json to your BeamFi App Git repo .dfx/local/canisters_id.json so that the BeamFi App can find your local BeamFi Protocol canisters IDs when building
cd $YOUR_LOCAL_BEAMFI_PROTOCOL_GIT_REPO_FOLDER
cp .dfx/local/canisters_id.json $YOUR_LOCAL_BEAMFI_APP_GIT_REPO_FOLDER/.dfx/local/canisters_id.json
Replace $YOUR_LOCAL_BEAMFI_PROTOCOL_GIT_REPO_FOLDER and $YOUR_LOCAL_BEAMFI_APP_GIT_REPO_FOLDER with your local folder paths.
- switch to BeamFi App Git repo, copy .env.iclocal to .env.development so that the BeamFi App can connect to your local BeamFi Protocol canisters
> cp .env.iclocal .env.developmentBuild & Run
npm install
npm run dev
Open http://localhost:3000 (opens in a new tab) in Chrome. It should show the BeamFi App home page like that in production (opens in a new tab).
If it works, well done! 🎉
Setup Plug Wallet
To Create Beam in BeamFi App, it requires Plug Wallet configured to Local IC network and ICP ledger.
Install Plug Wallet
Install Plug Wallet Chrome extension (opens in a new tab) version 0.6.1.2 or higher if you haven't.
To configure Plug Wallet to use Local ICP Ledger:
- Get the local ICP Ledger canister id configured in Getting Started
> dfx canister id ledger- Click on the network switch button "Mainnet" on top, click "Add" to add a local network.
Network Name: Local
Host URL: http://localhost:8000
Ledger Canister Id: {Put the ledger canister id from above}

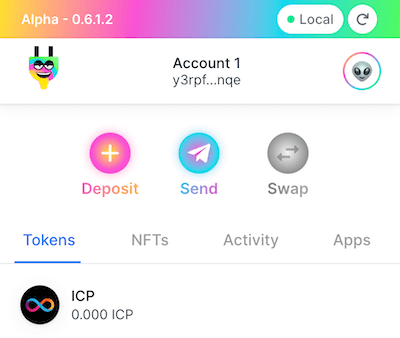
- Switch to "Local". It should show 0.000 ICP if it works.
More details here: https://medium.com/plugwallet/plug-0-5-3-network-selection-49e105334d83 (opens in a new tab)
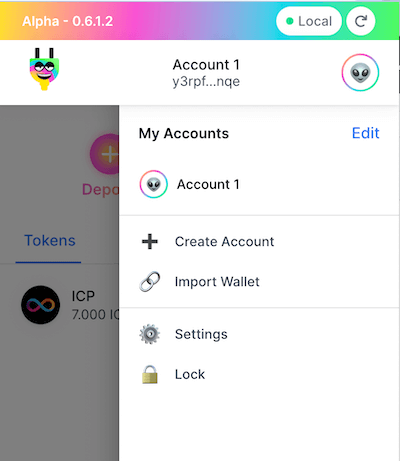
Create 2 Accounts
When you install Plug Wallet, one account is created. To test Beam, we need 2 separated accounts.
- Create another account here:
Transfer ICP from default identity account to your Plug Wallet
To create Beam, you will need some ICP tokens. When deploying a local ICP ledger above, 100 ICP is minted to the default identity account.
- Switch to default identity
dfx identity use default- Get your ledger canister ID
dfx canister id ledger- Get your Plug Wallet Account ID Open Plug Wallet -> Click Deposit.
Copy Account ID there.
Note: If you wonder what is the difference between Principal ID and Account ID, read this: https://internetcomputer.org/docs/current/developer-docs/integrations/ledger/#accounts (opens in a new tab)
- Transfer 10 ICP from your default identity account to your Plug Wallet Account ID 1
> dfx ledger transfer --ledger-canister-id {local ledger canister id} --icp 10 {Plug Wallet Account Id} --memo 1Create Beam from BeamFi App
Now, you should have everything you need to create Beam from Beam frontend app.
- open http://localhost:3000 (opens in a new tab) in Chrome
- Click "Create Beam" and follow the instruction to deposit ICP and create beam to another Plug Wallet principal ID
- After the Beam is created sucessfully, go to My Beams:
If you see the following and the Beam rate is updating continuously. Congratulations! 🎉
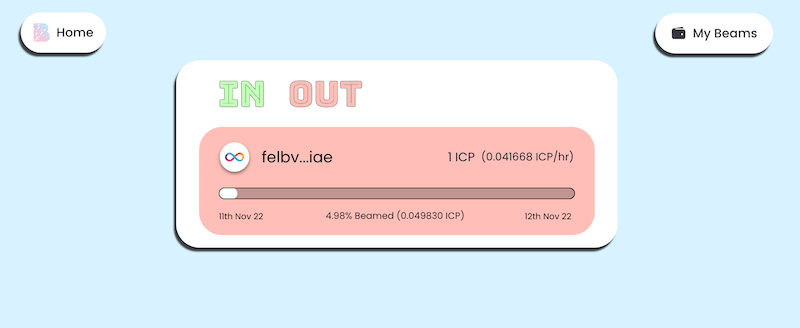
You have achieved an incredible job!